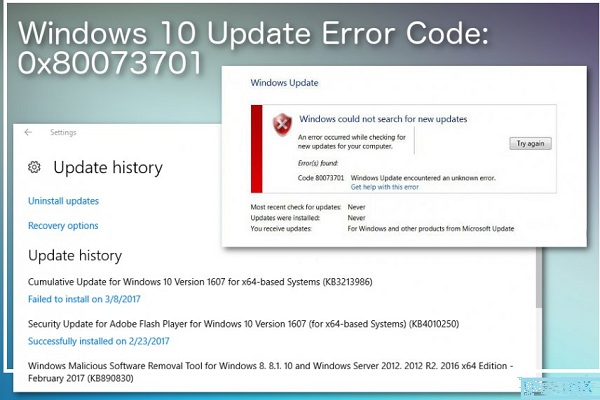
HOW TO RESOLVE THE ERROR CODE 0X80073701 ON WINDOWS 10
The error code
0x80073701 is one of the most apparent error codes in the Windows 10 system. To
solve this error, one may need to apply a few solutions since it is pretty hard
to solve it within a single solution. It is included in the BSOD errors, aka Blue
Screen of Death, that is pretty tough errors on their own. If you are also
facing the same error message, then we have got your back. So, no need to worry
about it and follow the guide mentioned below.
Method
1: Use Windows Built-in troubleshooter.
1.
Head to Start menu.
2.
Then search for
Settings.
3.
Choose the best match
to open settings.
4.
Now search for Update
& Security.
5.
Select the best match.
6.
Head to Troubleshoot
situated in the left menu.
7.
Find the Windows
Update option on the right side screen.
8.
Make a tap on that.
9.
Head to Run the
troubleshooter.
10.
Reboot the device once
the process wraps up
11.
see if the Error Code
0x80073701 persists.
Method
2: Fix the Corrupted and Outdated Files and Logs
There are many cases
in which a corrupted or outdated file was casing the Error Code 0x80073701
error on Windows 10 operating system. So in this method, we are going to fix
this up by just following the steps given down here:
1.
Navigate to Start
Menu.
2.
Search for Command
Prompt and then make a right-click on its icon.
3.
Put in SFC /scannow
and then make a tap on the Enter button.
4.
Now the process of
fixing system files will begin, and this most probably solves the 0x80073701
error code.
5.
If the issue is still
unresolved, then make sure to follow the next solution.
Method
3: Looking For bothersome patches
Sometimes the bad
patches can also make issues like this since that could affect the essential
system processes. Here’s how to fix the 0x80073701 error via finding and fixing
the problematic patches:
1.
Hit the Win +
S keys simultaneously on your keyboard.
2.
Put in ‘Control panel’
into the search field and then press Enter.
3.
Head to Programs
and Features.
4.
Now go to View
installed updates.
5.
Next, discover the
last installed patches on the list.
6.
Once you find them,
make a tap on the Uninstall icon.
7.
Head
to Yes button to verify your changes.
8.
Then restart the
computer to make the work accomplish.
Method
4: Turn off the Third-party Antivirus
Sometimes the
aftermarket security products can also make such error messages on the
Windows-based computers since they can affect the system permissions and files
resulting in 0x80073701. See the below steps to fix the issue:
1.
Head to Control Panel
with the help of the Start menu.
2.
Then open
the Program and Feature options.
3.
Locate the installed
third-party antivirus software in the programs list.
4.
When you find it, make
a right-click on that and pick the Uninstall option.
5.
At last, reboot the
PC.
Method
5: Perform Clean Boot
1.
Put in ‘System’ in the
start menu search bar.
2.
Then locate
the System Configuration option from results.
3.
Make a right-click on
it and then choose the Run as administrator option.
4.
Jump to
the Services tab.
5.
Now, make sure that
the option saying “Hide all Microsoft services” is selected.
6.
Also press
the Disable all option.
7.
After that, go to the
‘Startup’ tab and then head to the option saying Open Task Manager.
8.
In
the Startup tab, right-click on the item that you want to disable and
choose the Disable option.
9.
Exit the Task Manager
window and then head to OK.
Harry Williams is an
inventive person who has been doing intensive research in particular topics and
writing blogs and articles on webroot.com/safe and many other related topics. He is a
very knowledgeable person with lots of experience.
Source : Resolve
the Error Code 0x80073701


Comments
Post a Comment